


APIs or Application Programming Interfaces are an essential component of modern web development. They allow different applications to communicate with each other, making it possible to exchange data and services between them. Creating an API can seem like a daunting task, but with the right approach, it can be straightforward and even enjoyable. In this blog, we will outline four simple steps to create an API. So let's make hands dirty by writing some code.
The first step to creating an API is to create a new directory for your project and initialize it as an npm project using the npm init command. After that, you can install the express module which is a popular and powerful web application framework for Node.js using the npm install express command.
Here are the detailed steps:
Open your terminal and navigate to the directory where you want to create your API using the
cdcommand. For example:cd /path/to/directoryCreate a new directory called
apiusing themkdircommand & Navigate to theapidirectory using thecdcommand:mkdir api cd apiInitialize the directory as an npm project by running the following command and following the prompts also Install the
expressmodule by running the following command:npm init --yes npm install express
After completing these steps, you will have an empty Node.js project with the express module installed and ready to use. You can now move on to the next step of creating your API by setting up a basic server using express.
Create a new file called
server.jsin theapidirectory using the following command.touch server.jsOpen the
server.jsfile in your favorite text editor.Import the
expressmodule at the top of theserver.jsfile using the following code and Create a new instance of theexpressapplication by calling theexpressfunction and assigning it to a variable, like so:const express = require('express')(); const PORT = 3000; // declare the portSet up a basic route that responds to a GET request. For example, you can create a route for the root URL
/that sends the JSON data as the response. Set up the server to listen to incoming requests. Add the following code at the end of theserver.jsfile: Here's an example.app.get('/login', (req, res) => { res.json([ { "login": "zyx", "id": 1 }, { "login": "xyz", "id": 2 } ]); }); app.listen(PORT, () => { console.log(`Server is running on port ${PORT}`); });After completing these steps, you will have a basic
expressserver running on port 3000 that responds to a GET request to the root URL/with the JSON data You can test the API by navigating tohttp://localhost:3000in your web browser.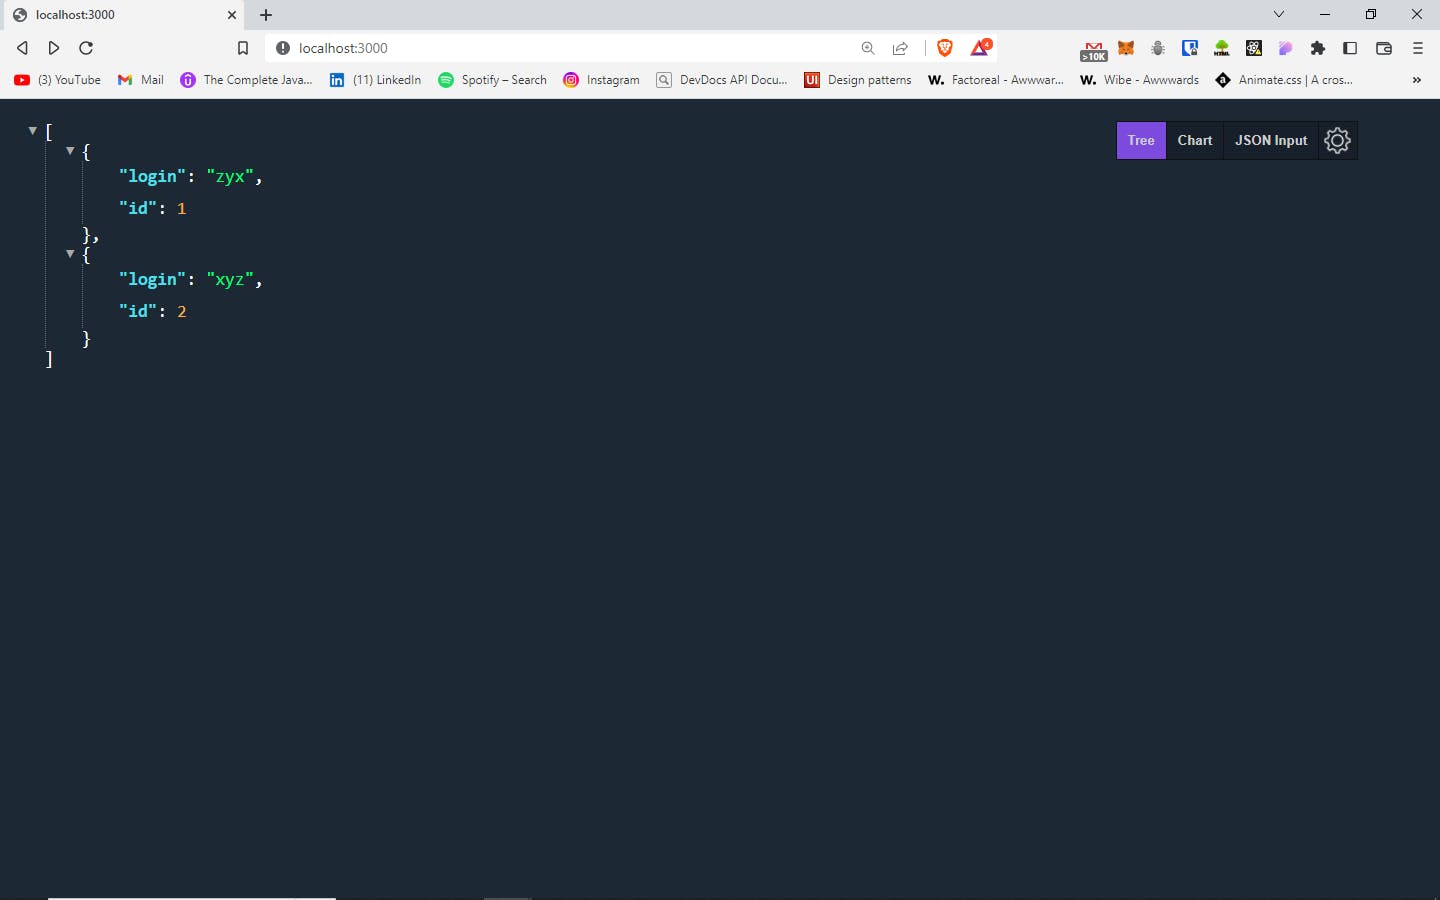
You should see the API data similar to the above output. 🎉
I hope the information provided was helpful and informative. If you have any further questions or need clarification, feel free to leave a comment or reach out to me through Twitter or LinkedIn. It would be great to connect and continue the conversation.
👋Thank you for taking the time to read this article. Until next time!